Today I decided to try out the sun printing with tissue paper project featured on the cover of the latest issue of Quilting Arts Magazine. I thought this might be just the project the girls would enjoy. And it was.
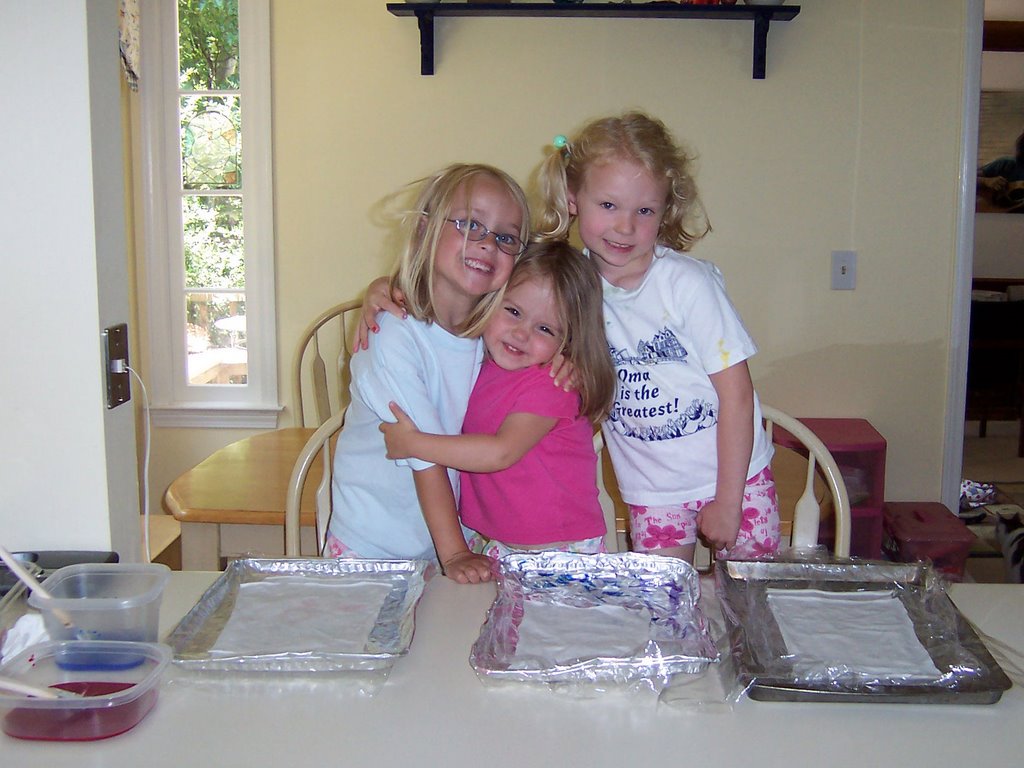 Meet the FiberArt mini Bees!
Sarah (5), Sophia (3) and Cameron (5)
 Tear bleeding tissue paper first thing! Sophia really loved this part.
 We placed our torn tissue paper into a plastic box with lid to protect it from moisture while we painted and misted with water.
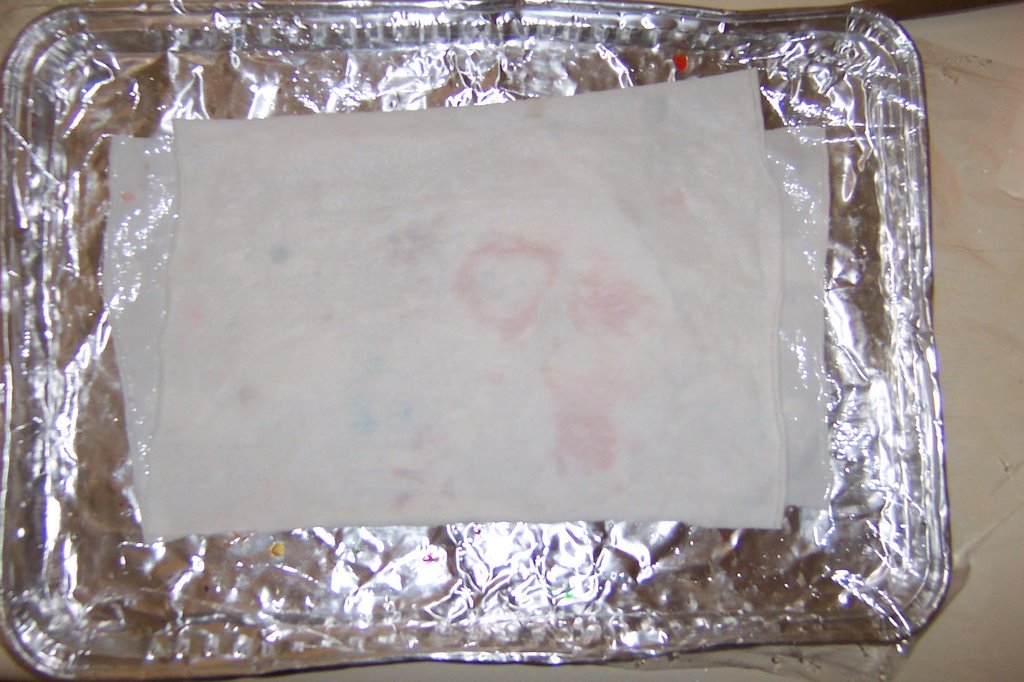 On top of a portable work surface, layer pieces of wet fabric in between sheets of plastic wrap or trash can liners. We used disposable cookie trays and the top of a 66 quart plastic storage container for our portable work surfaces.
 We used diluted Setacolor Soleil in yellow, blue and Orient Red.
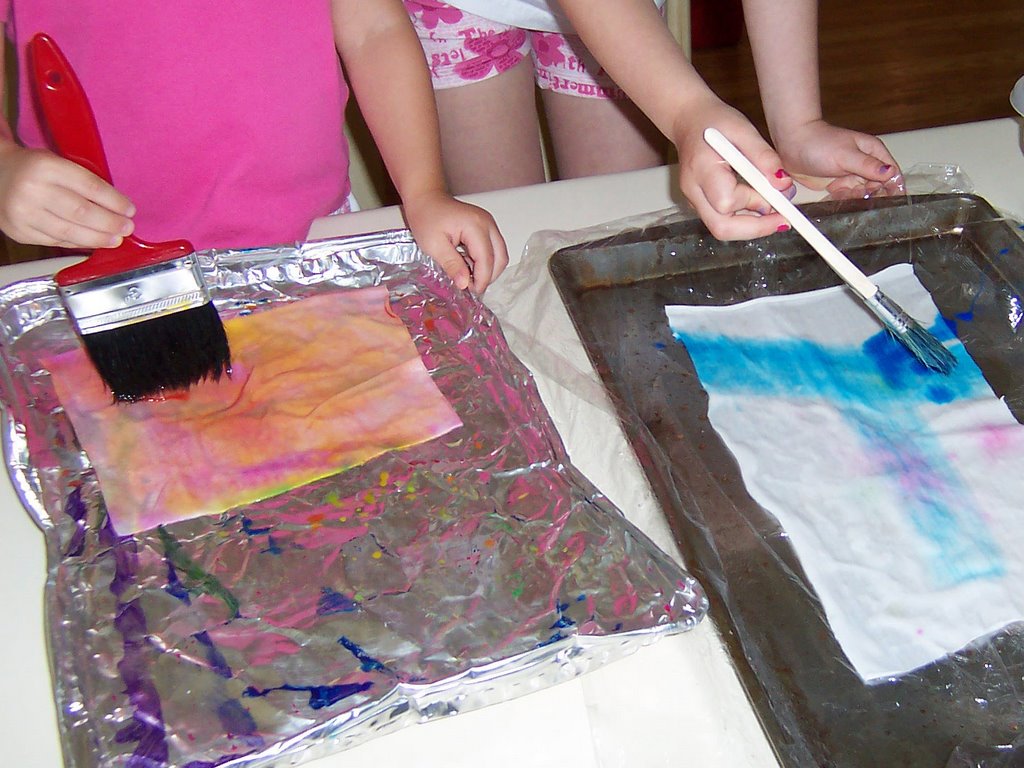 Using large brushes, we painted our fabric.
 Cameron is very careful with her painting. This composition is entitled: "Butterfly".
 Jackson Pollack look out. Sarah always likes to use as much paint as she can get away with. She preferred to dribble the paint from about 18 inches above the counter.
 That's my circle and wonky lines.
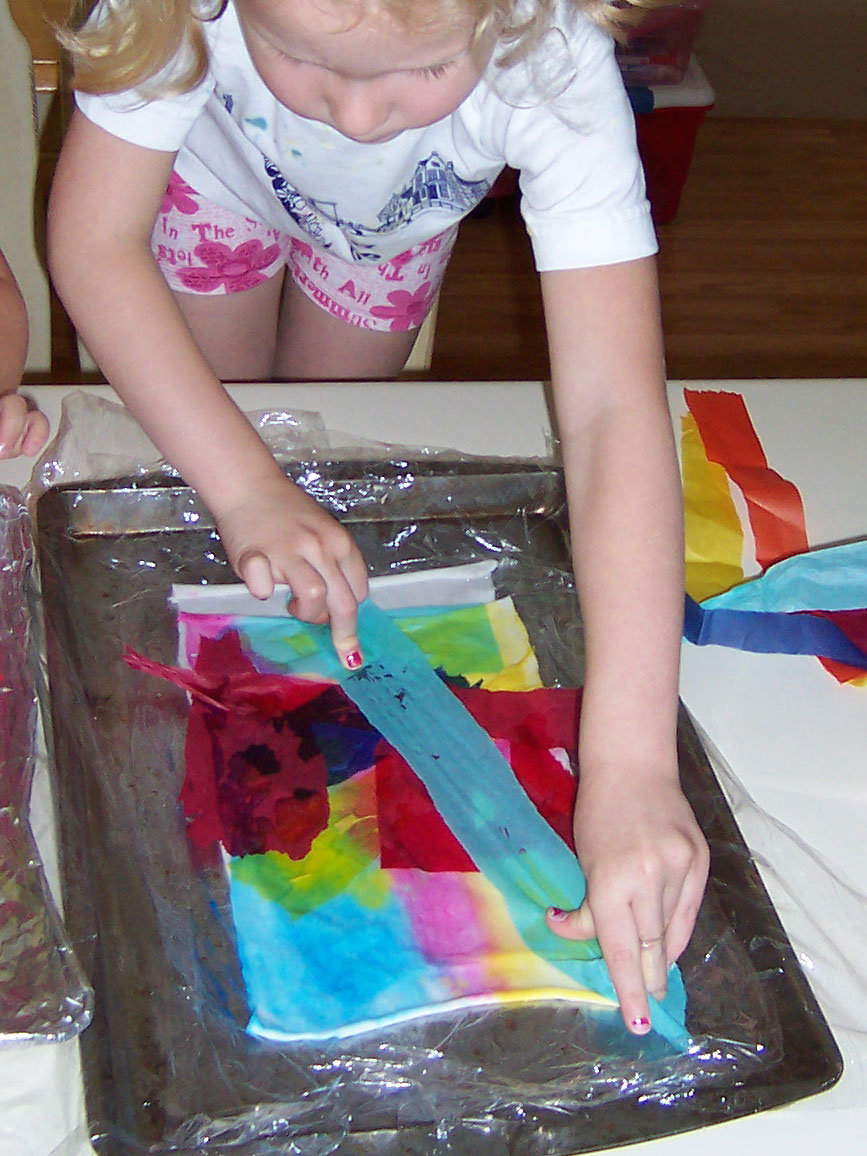 Careful placement of tissue strips. . .
 Or willy nilly.
 We misted the top of our tissue with water and then patted flat. I would like to have used more Setacolor on top of the tissue for more color saturation. If Jackson Pollack worked with tissue paper, this would be his.
 Here is one of my pieces, on top of a kitchen trash can liner, on top of the lid to a 66 quart storage container. I slid the top layer off and was ready to paint and tissue the next layer (beneath).
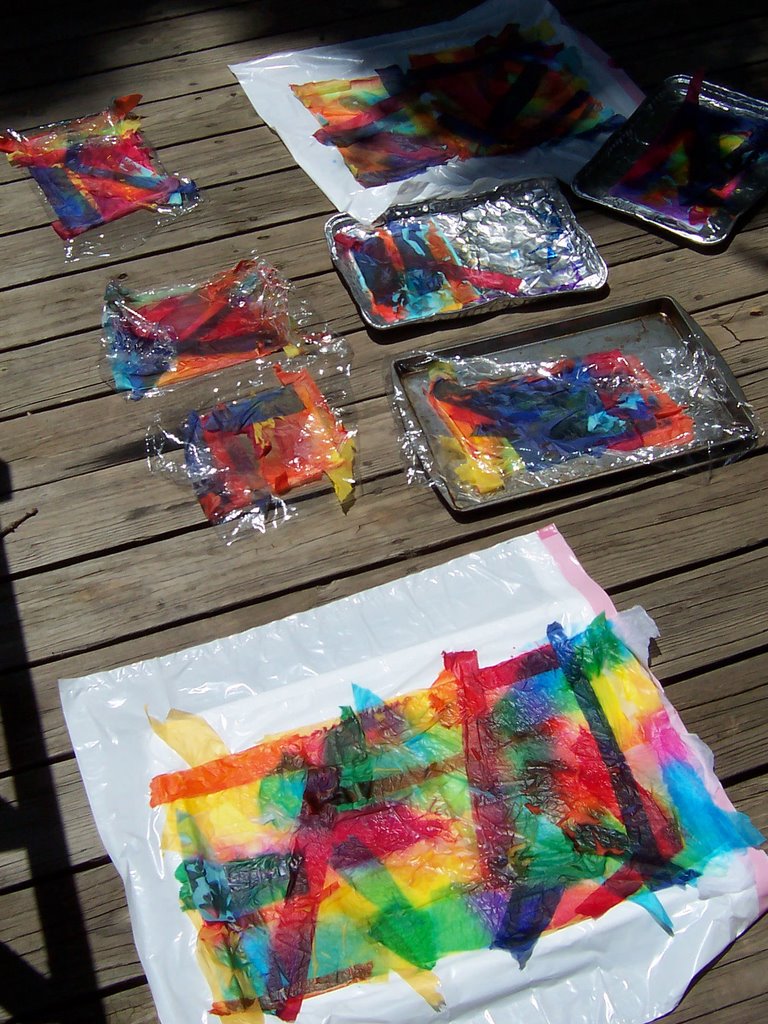 Here are pieces in the sun drying. It took about an hour to dry.
And then AAARRRRGGGGG, the batteries in the camera are dead and in the charger. Finished works will be posted tomorrow!
All in all this was a very fun project. Very do-able with young children. Not as messy as you would think. The cleanup was easy (dump paint, wash containers, wash portable work surfaces.) Do again? You betcha!


4 comments:
How kid-friendly that project is and it looks like everyone had a great time!
What a cool Mom are you!!! This is very cool...
Oh, this is inspiring....and here was I thinking 'nah, can't be bothered'. You and the girls have shown me I oughtta be bothered! Can't wait for the finished results pix.
I just read this article, and am anxious to try it. It seems less messy than dying with all the mixing, etc. Thanks for posting this.
Does anyone know anything about the Creative Textile Tool that was discussed in this same issue?
Post a Comment